One of the key selling points of our house…for me atleast…was that it still had its original kitchen. During the ensuing years since our purchase, I have only come across 4-5 other houses (1-2 a year) that still have their original culinary cabinetry intact through my obsessive observation of the Rochester real estate market. It had a leaking utilitarian faucet, was slathered in green paint, its hardware had been replaced in the 1950s, and there were only about three feet of useable counter…but it was original!!!
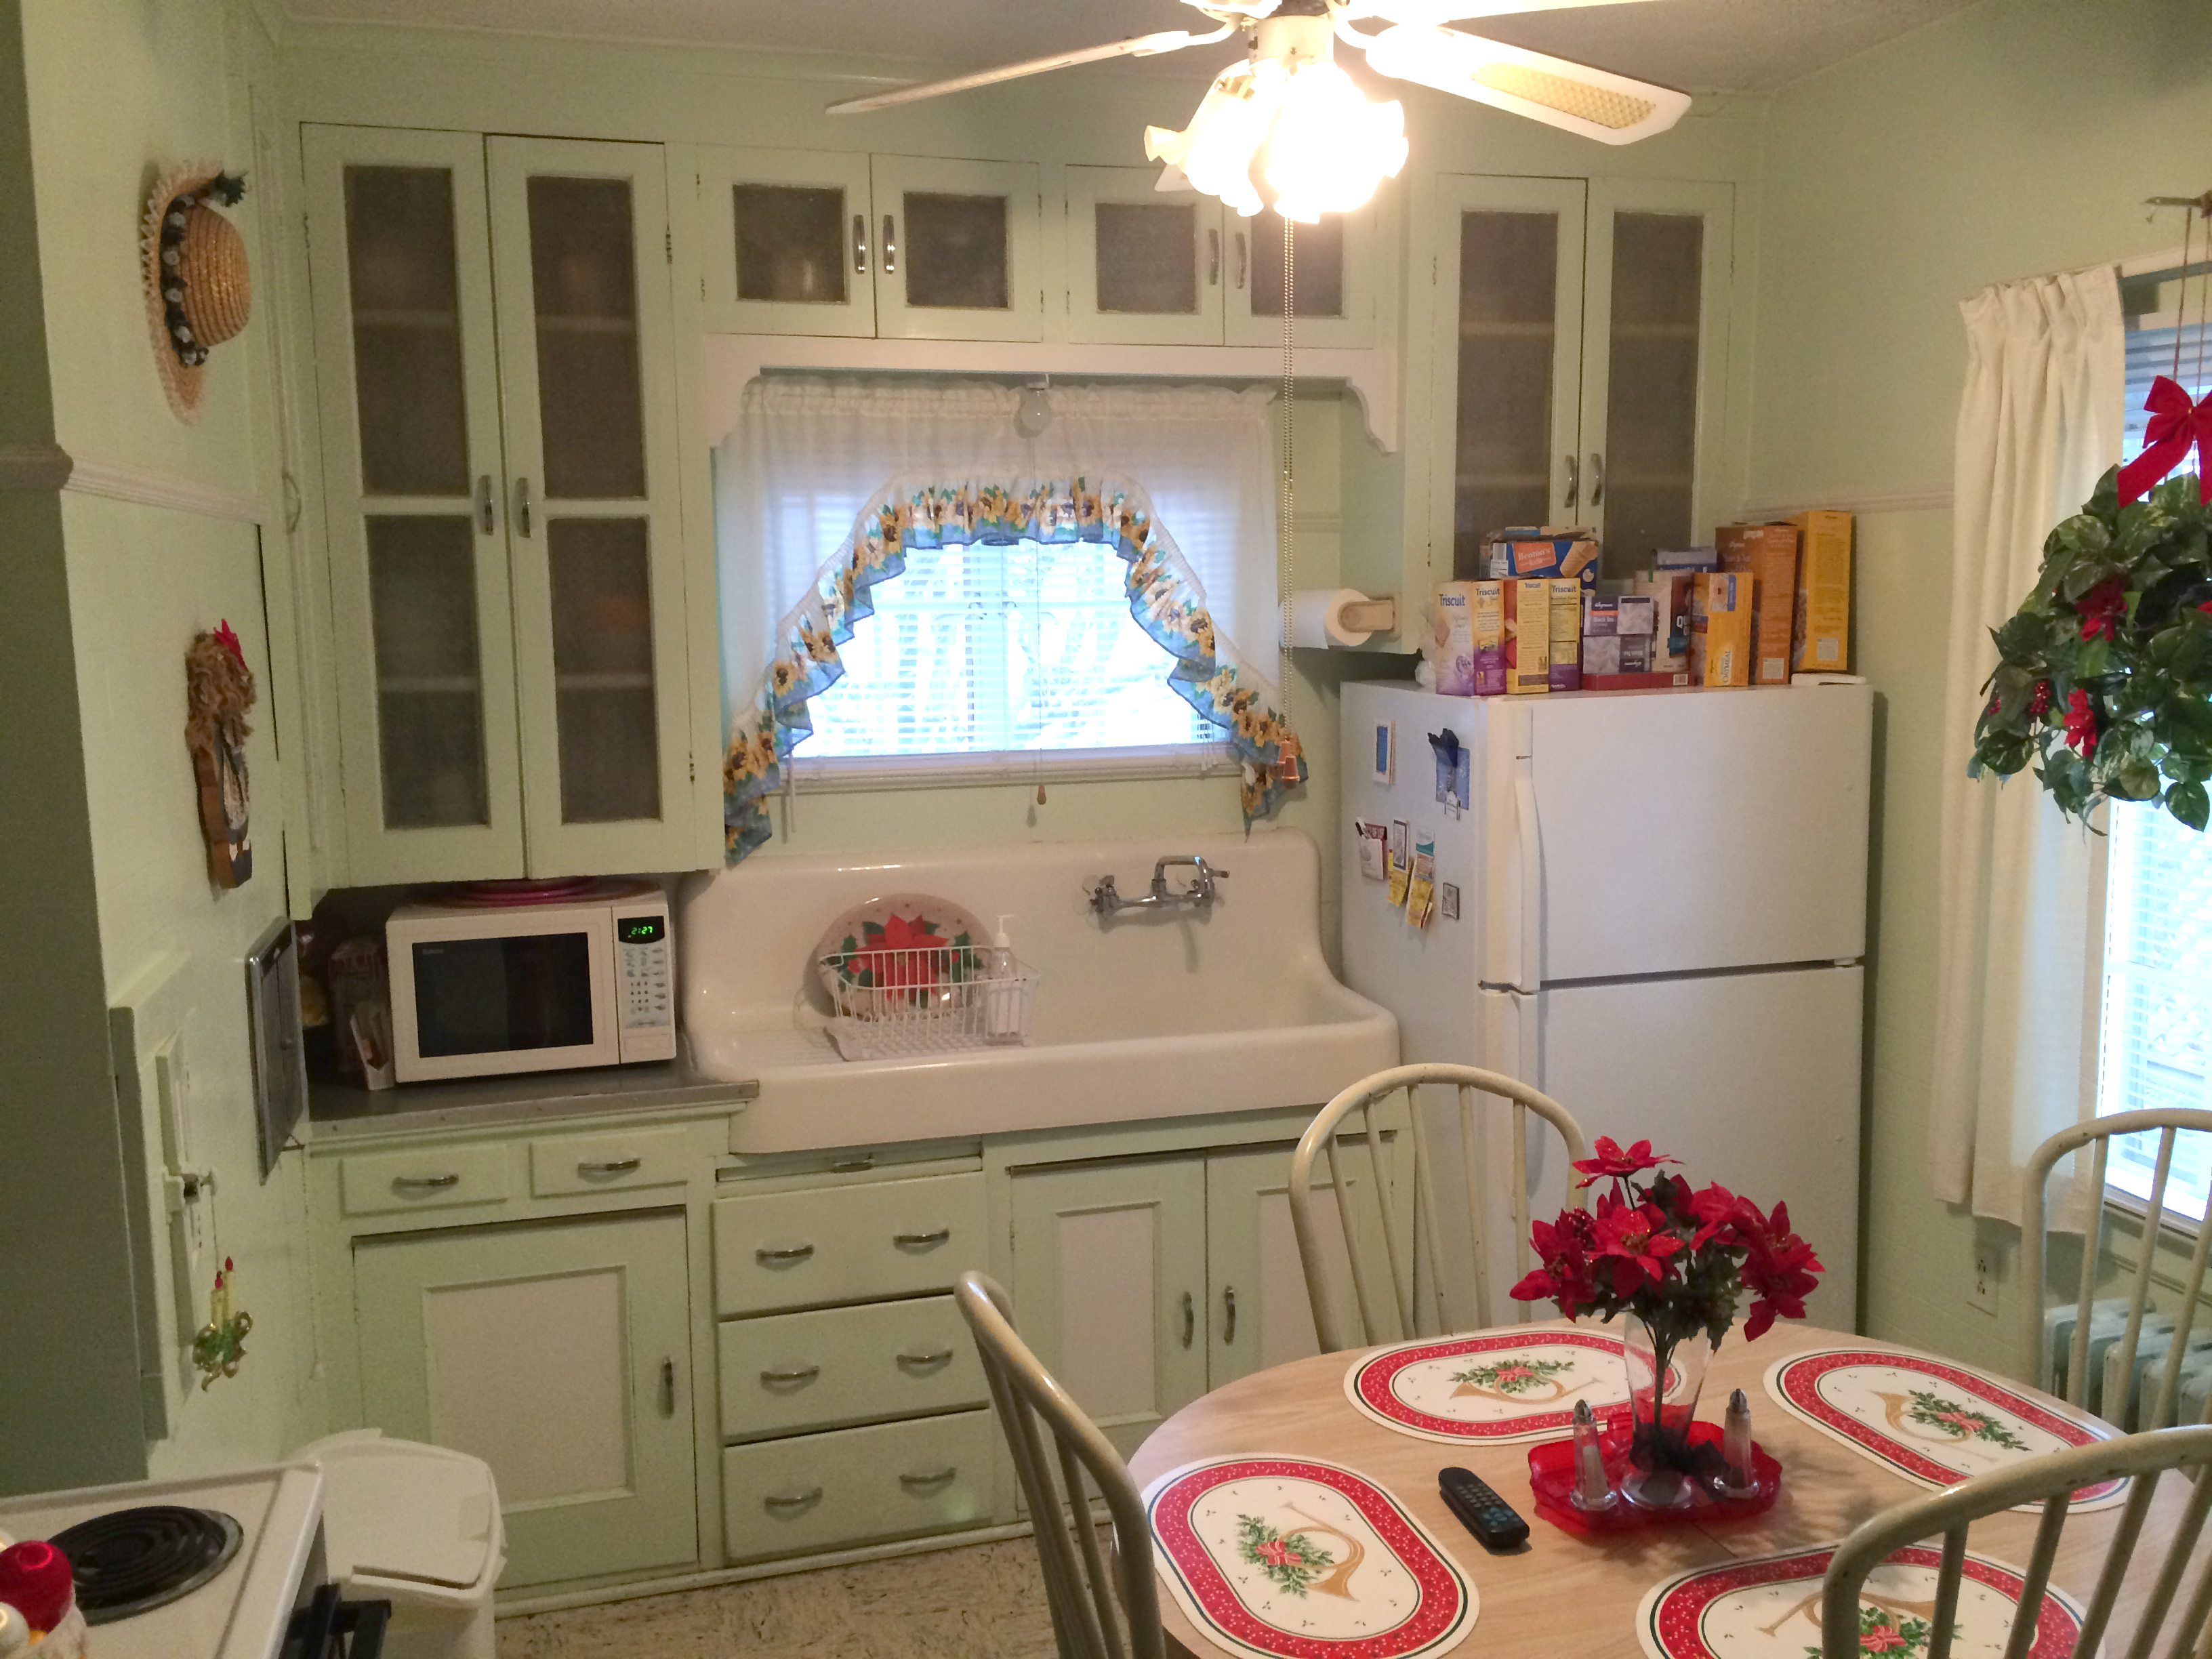
Here it is in all its glory the first day I saw the house back in 2014. Stuffing a round kitchen table into the mix wasn’t doing any favors.
While the room itself is not too small at around 11′-0″ x 13′-0″, all of the cabinetry and appliances with the exception of the stove are located on one wall. A small broom closet/pantry at one corner alleviates this marginally, and the former built-in ironing board, while quaint does not provide, additional work area.
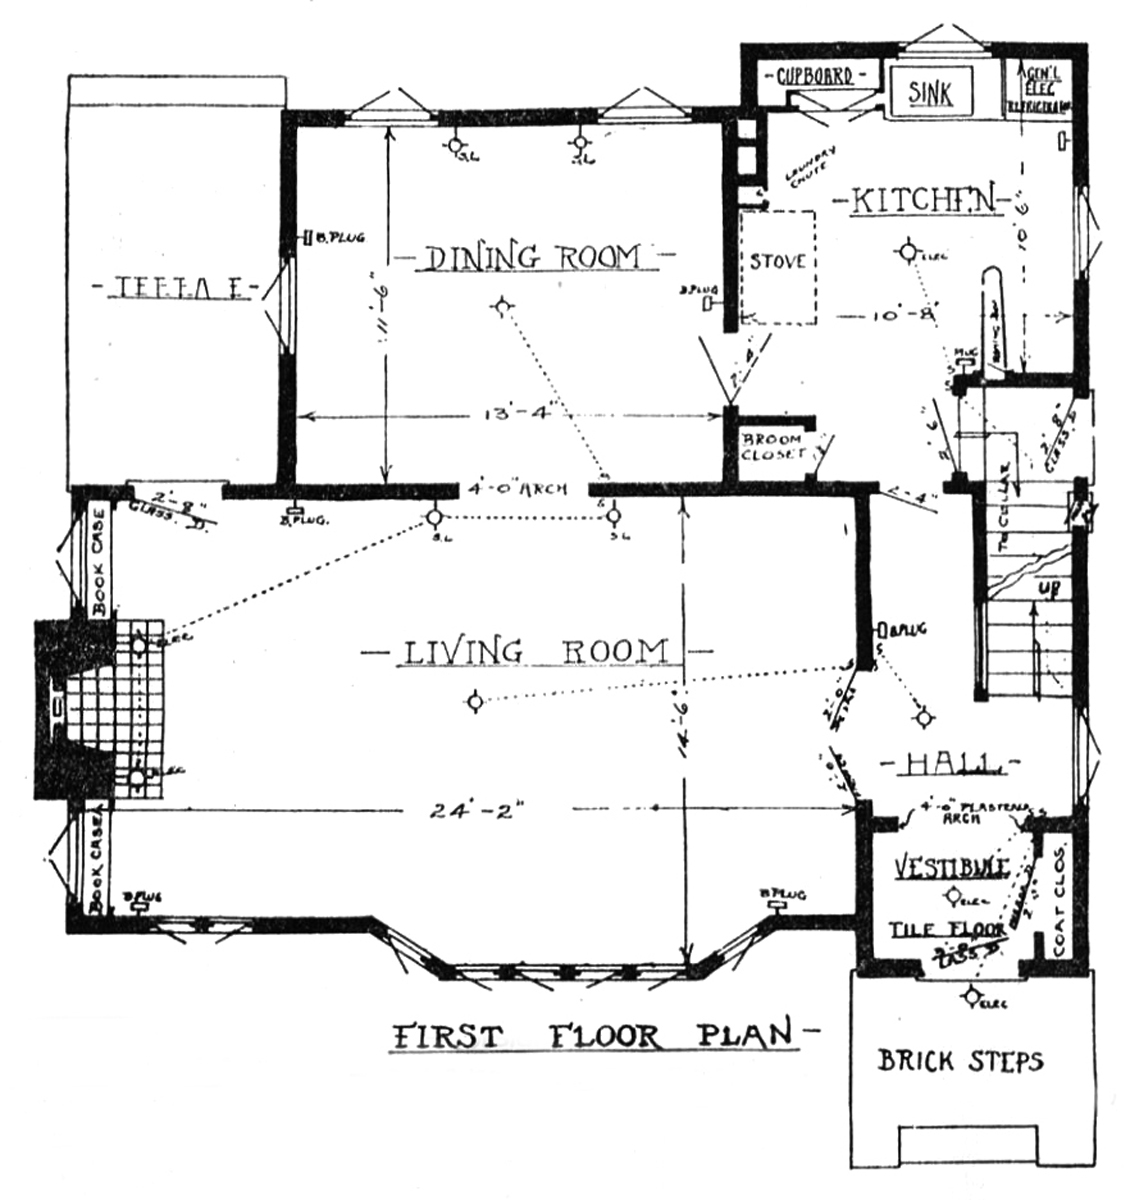
This is the plan published in a 1928 magazine article, with the kitchen layout matching what was there when we moved in.
Before Kit and I settled on a plan forward to restore and improve the space, I promptly began removing the doors from the cabinets and started stripping all of the paint off down to bare wood. This initial flurry of activity continued in fits and starts until this past summer, when we finally made a big push and got the cabinets completely stripped. Originally, we had hoped to stain the cabinetry, but after stripping several portions it was revealed that the boxes of the cabinetry were made from a mix of pine (strong broad grain) and poplar (tight light grain). We did discover that luckily the shelves were all beautiful heart pine, and made the impractical, but rewarding decision to strip and finish the shelves in a tung oil finish, while painting the cabinet bodies. The Waterlox tung oil finish we used is a traditional old-school and food safe finish for wood that can easily be refreshed and recoated without needing to strip back down to the wood (I’m looking at you polyurethane). Its one big side effect was that we had to seal off the kitchen and copiously ventilate it for over a day while wearing a respirator to avoid succumbing to the fumes. The final product is a beautiful warm natural finish that makes the shelves and the original oak counter we uncovered (woot!) really pop. This year we plan to finish restoring the cabinet doors and installing the hardware…don’t worry we’re not sticking with the open shelving!
All while these shenanigans were going on we were doggedly hunting down the perfect vintage fridge to replace the ugly and cheap Kenmore fridge you can see in the earlier photographs. Our final perfect match was a 1939 General Electric fridge that we bought from the son of the original owner.
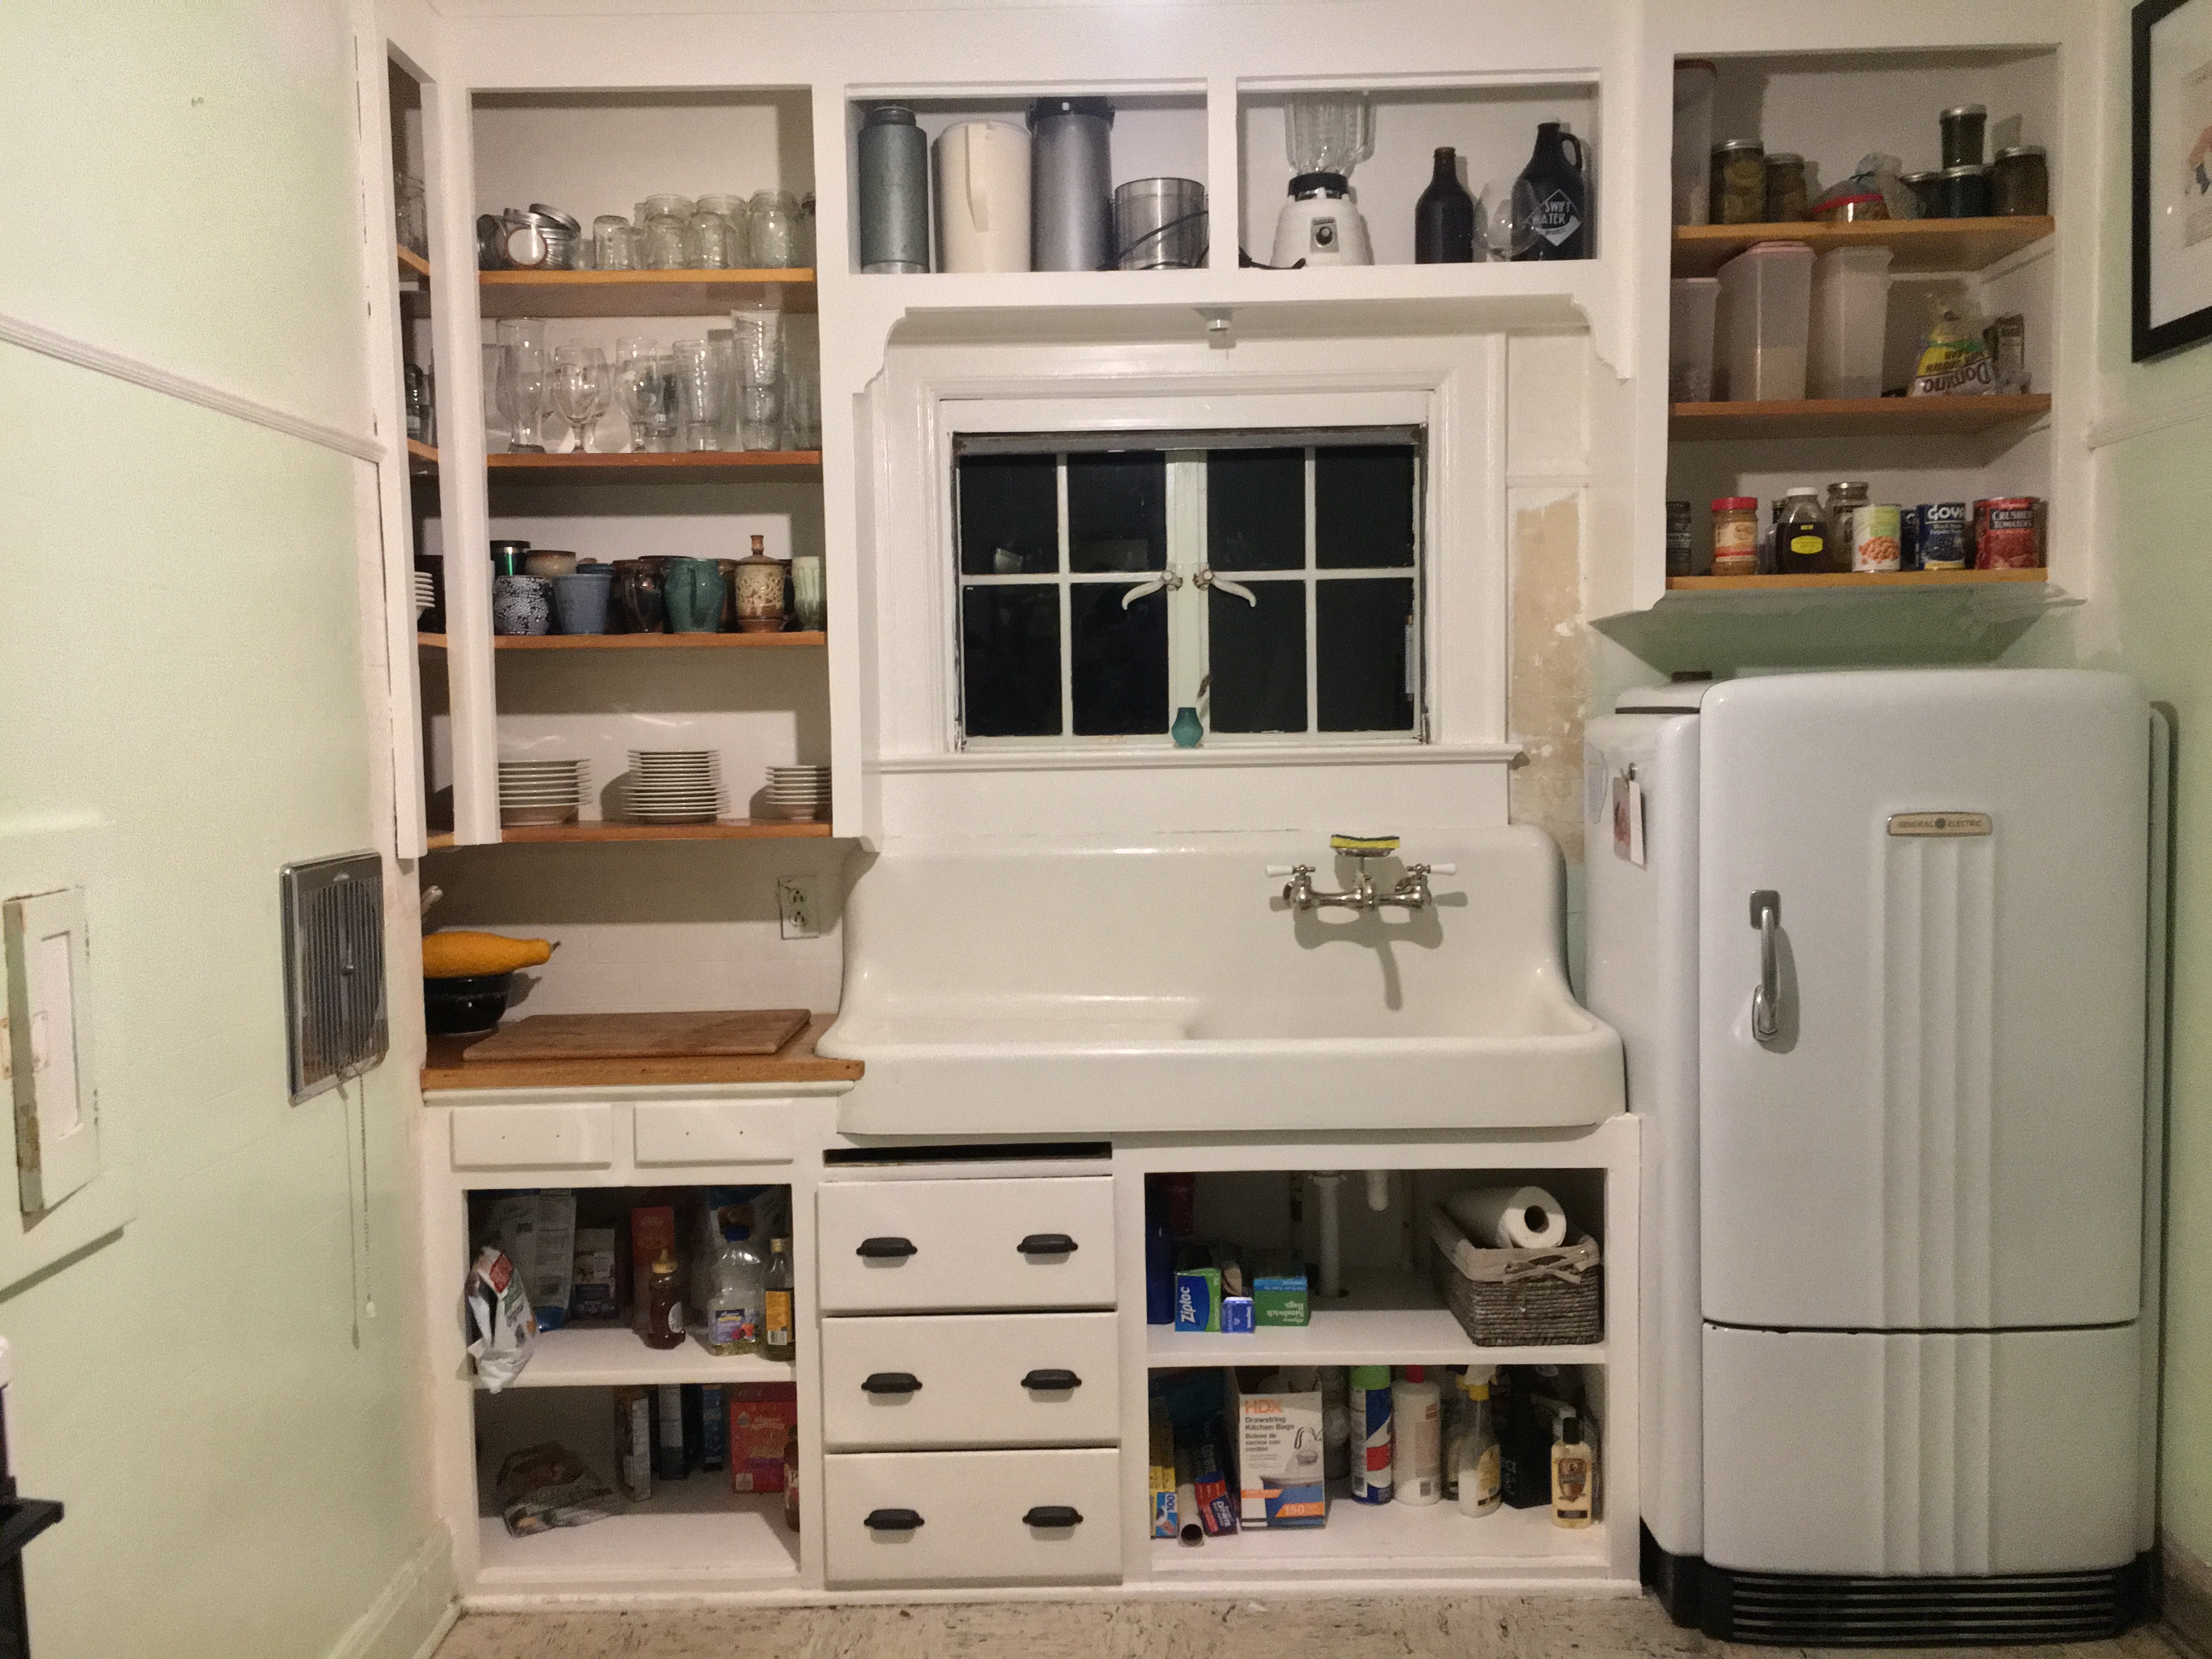
Here it is with all of our stuff inside and our awesome 1939 GE Fridge!
Stay tuned to watch me nerd out about our GE fridge and the 1950s Hotpoint fridge we also bought, that didn’t fit, but has become a wonderful workhorse for our basement.
I’ll reveal our grand plans for the kitchen and our envious acquirement of some period cabinetry in Episode 2 of the Kitchen Progress.
