We cut it close, but the cringe worthy removal of the thirty year-old maroon carpeting, and the wicked tack strips was finished just in time (48 hours) to horse the radiators off of the floors into temporary storage…and to fix the mysterious hump in the living room floor discovered after full removal of the carpet.
What fun could it possibly be if I ever gave myself enough time to complete these tasks at anything other than a brisk pace? First task was to flatten the hump. The beadboard wall in the basement (which I love) when originally installed was carefully cut around the floor joints, so carefully in fact, that they did not leave a gap between the top of the beadboard and sub-floor boards on the top of the joists. Why might this be a problem? Well it certainly looks very nice and finished, however upon getting wet/moist (remember that whole water coming into the basement thing?) the beadboard expanded and pushed some of the subfloor boards up off of the floor joists…definitely not cool. Did I also mention that the beadboard is inaccessible from the unfinished section of the basement, because the steel i-beam blocks your view? So after removing sections of the original 1928 “BeaverBoard” ceiling finish (I feel a bit guilty, but not really) I used my drill gun and a reciprocating saw to cut individual relief joints between the beadboard and subfloor in each joist void. Then after methodical tapping and thumping the floor gradually descended to almost flat by the time the floor refinishers arrived.
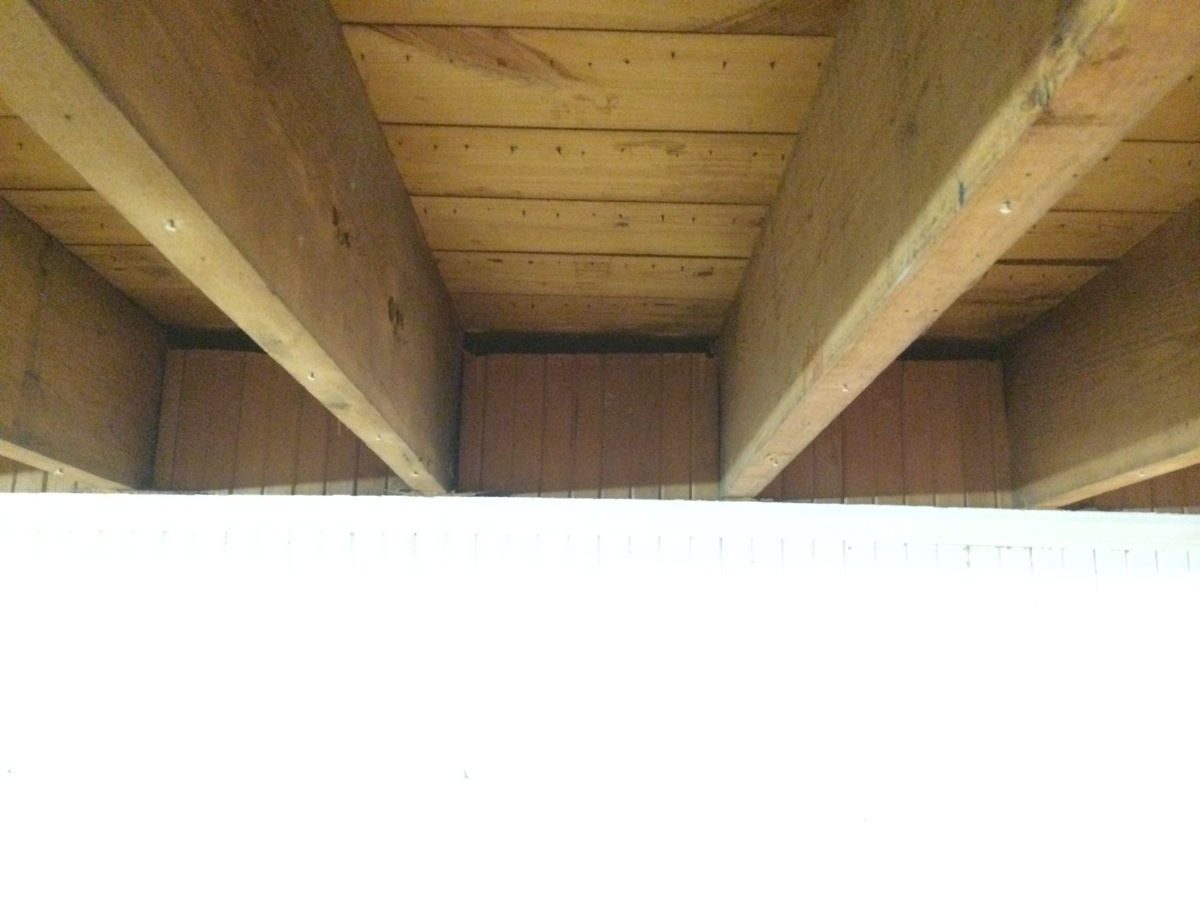
That’s the first time those joists have seen daylight since 1928.
Now there’s a nice relief joint!
The following day my dad and I did our best impression of Super Mario goombas, making many small quick steps, and remembering to “lift with you legs, not with your back”, and successfully herded the radiators into their respective corners of the kitchen to distribute the weight (because the last thing I need is a cracked floor joist). Oh how I could speak at length about how fun moving 100+ lb radiators is…but not really.
Then Monday, August 18th came and the transformation began. The (not so) basic process was as follows:
- Patch all missing pieces and heavily damaged areas of floor with boards to match…yes they hold onto vintage quarter-sawn oak stock
- Scrape and sand down the finish of the floors and stair treads in a series of 3-4 passes graduating up from a heavy grit to a finer and finer grit sand paper (2-3 days)
- Hand apply industrial grade pigmented stain (two coats on the stairs..because man did they look funky after one application) (1 day)
- Apply a three coat conversion (Swedish) varnish system (2 days)…I cannot emphasize enough, how much better conversion varnish is compared to Poly for longevity and aesthetics…unless that wet floor look is appealing to you
- Install pre-finished cherry toe molding and return for any areas in need of touch up or repair
I highly recomend to any of my friends and readers the floor refinisher I used, Ray Case Floors. They did my parent’s house 10 years ago, and were able to attend to all of my fussy needs (I am certain that I was an overbearing pain in the ass). The finished product was worth every penny, and showcases how beautiful quarter-sawn oak is.

TA DA!!! You’ll notice the radiators and light fixtures are all still missing.
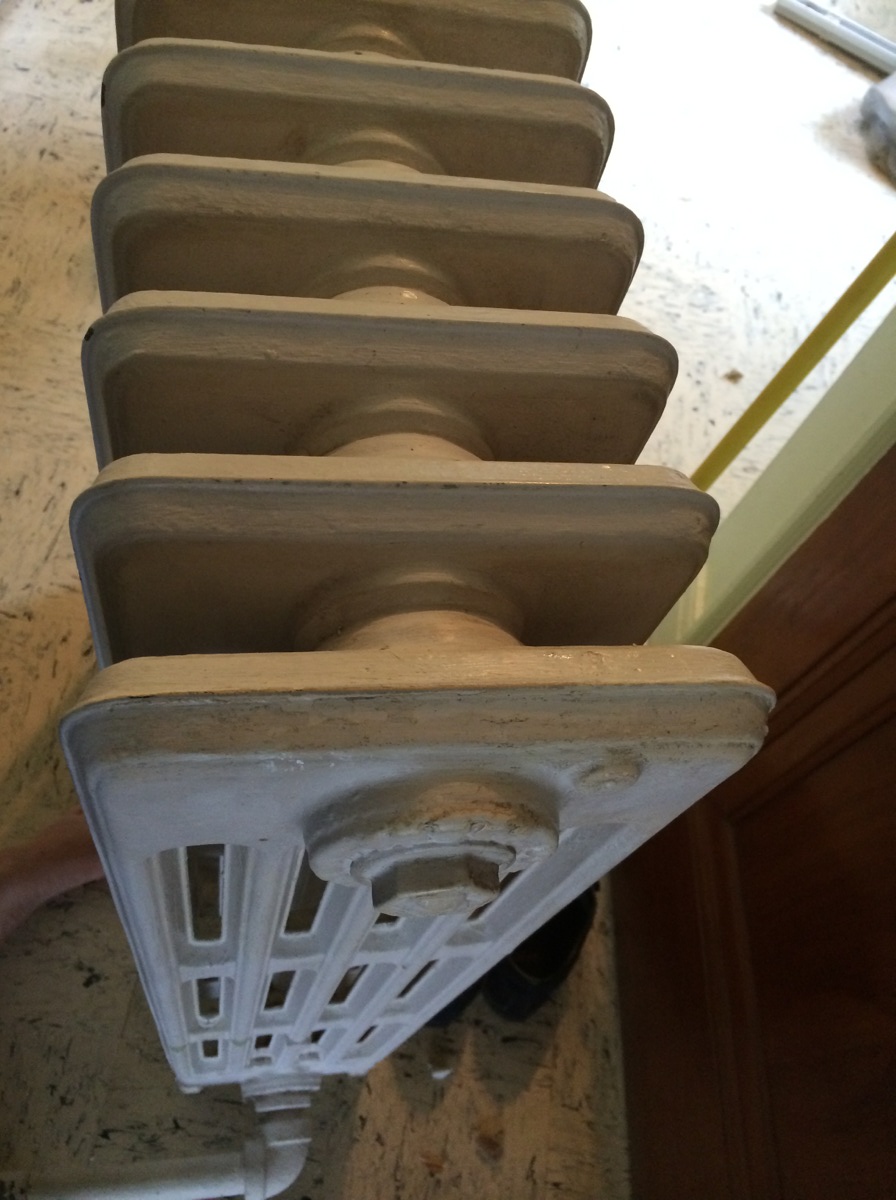
After the floors it was a mad dash to clean (and move) the radiators…which by the way we found the most perfect tool for doing that…finish the saga of cleaning/rewiring light fixtures, get rugs, move-in furniture, and paint the ceiling of the bay. Somehow it all fell together. For the radiators we used a Magic Eraser for the outside and than this pipe cleaner on steroids for the fins. Afterwards the build-up of grime and thick dust was gone…and we slid the radiators on carpet pads back into place and put felt pads underneath the feet to separate them from the floors.
After several hours and several failed attempts (don’t even get me started on the foyer lantern), my dad and I remounted my lovely light fixtures. I swear if I ever catch someone who is too lazy to tape off or remove light fixtures before painting I will smack them (I removed paint from every single light fixture…the sconces had big ugly drips…and did I mention some of the original finish was permanently damaged by the paint???). Gahhhhhhhhhh…but at least its now over, except for a few.
In the last few days before move-in (and my housemates, Chris and Morgan, move-in) I found a free couch and chair that were actually pretty nice, although I am most proud of my great craigslist find of a craftsman style…american empire revival (thanks Brad!)…solid oak (no veneer and mortise & tenon joinery kiddies) dining room set c.1910…granted it needs a bit of refinishing…for only $300. So I guess now you could say its a home!
 Large pedestal table, six chairs, and a buffet…all a matching set. The manufacturer D. C. Co of New York City remains a mystery.
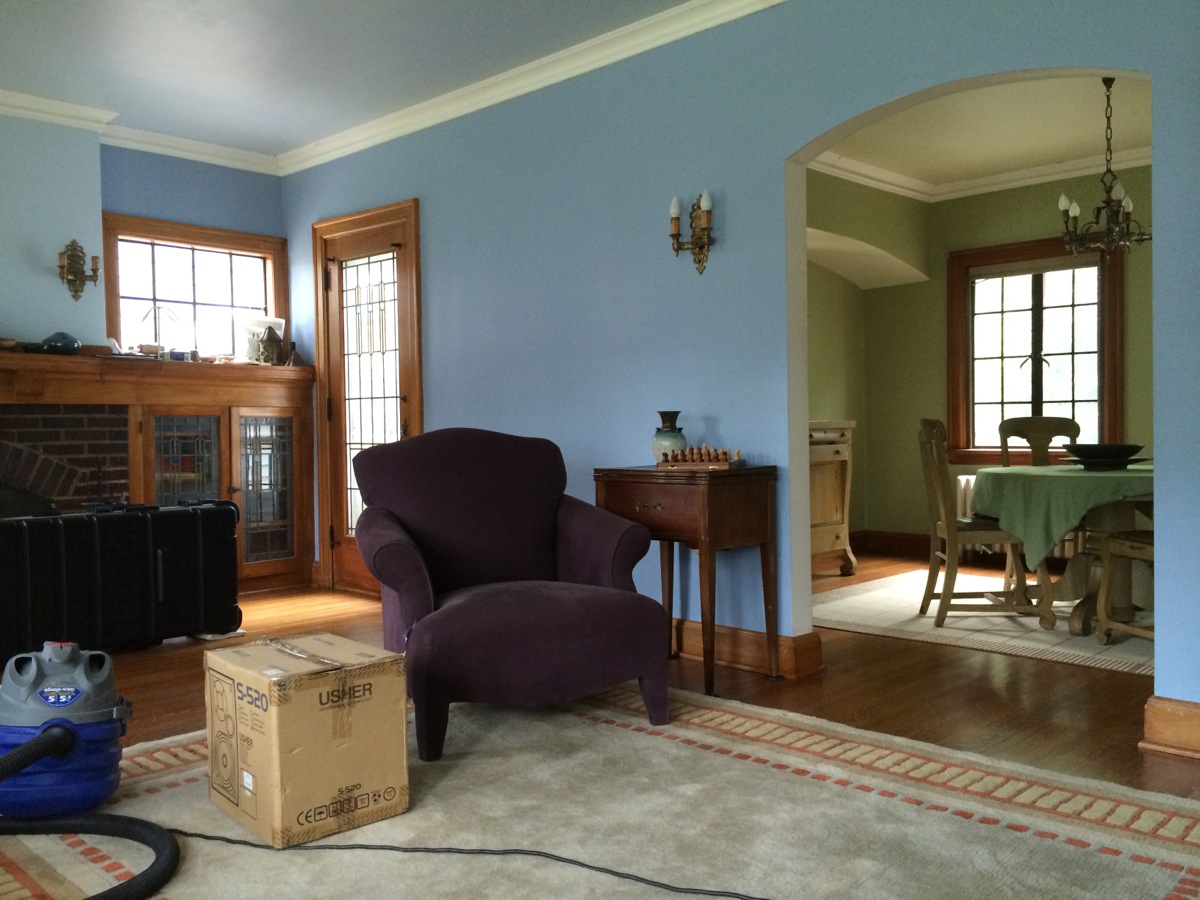
The Living Room, complete with purple chair (not a complete fan), and cleaned light fixtures!

I absolutely love the Dining Room chandelier…why would you ever take it down and put it in the attic for years???
That’s all for now. Stay tuned for landscaping, plaster restoration work, electrical adventures, and more!

I dare say that your dining room set is American Empire Revival not Craftsman. Thoughts?
To be honest I had never hear of American Empire Revival until you mentioned it…I know a nerd like me who claims to know all sorts of preservation stuff not knowing. Anyways it appears that the American Empire style had a brief revival around the early twentieth century with certain level of Arts and Crafts style influence with more simplified rectilinear forms and predominant use of oak.
I will still secretly tell myself that it is Arts and Crafts style furniture though.